
Setup Wizard
The setup wizard runs the first time you launch Starfish. It walks you through five steps: Account, AI access, Make it yours, Apps, and Ready.
The progress bar at the top shows where you are. Use the Back button on each step to return to an earlier one.
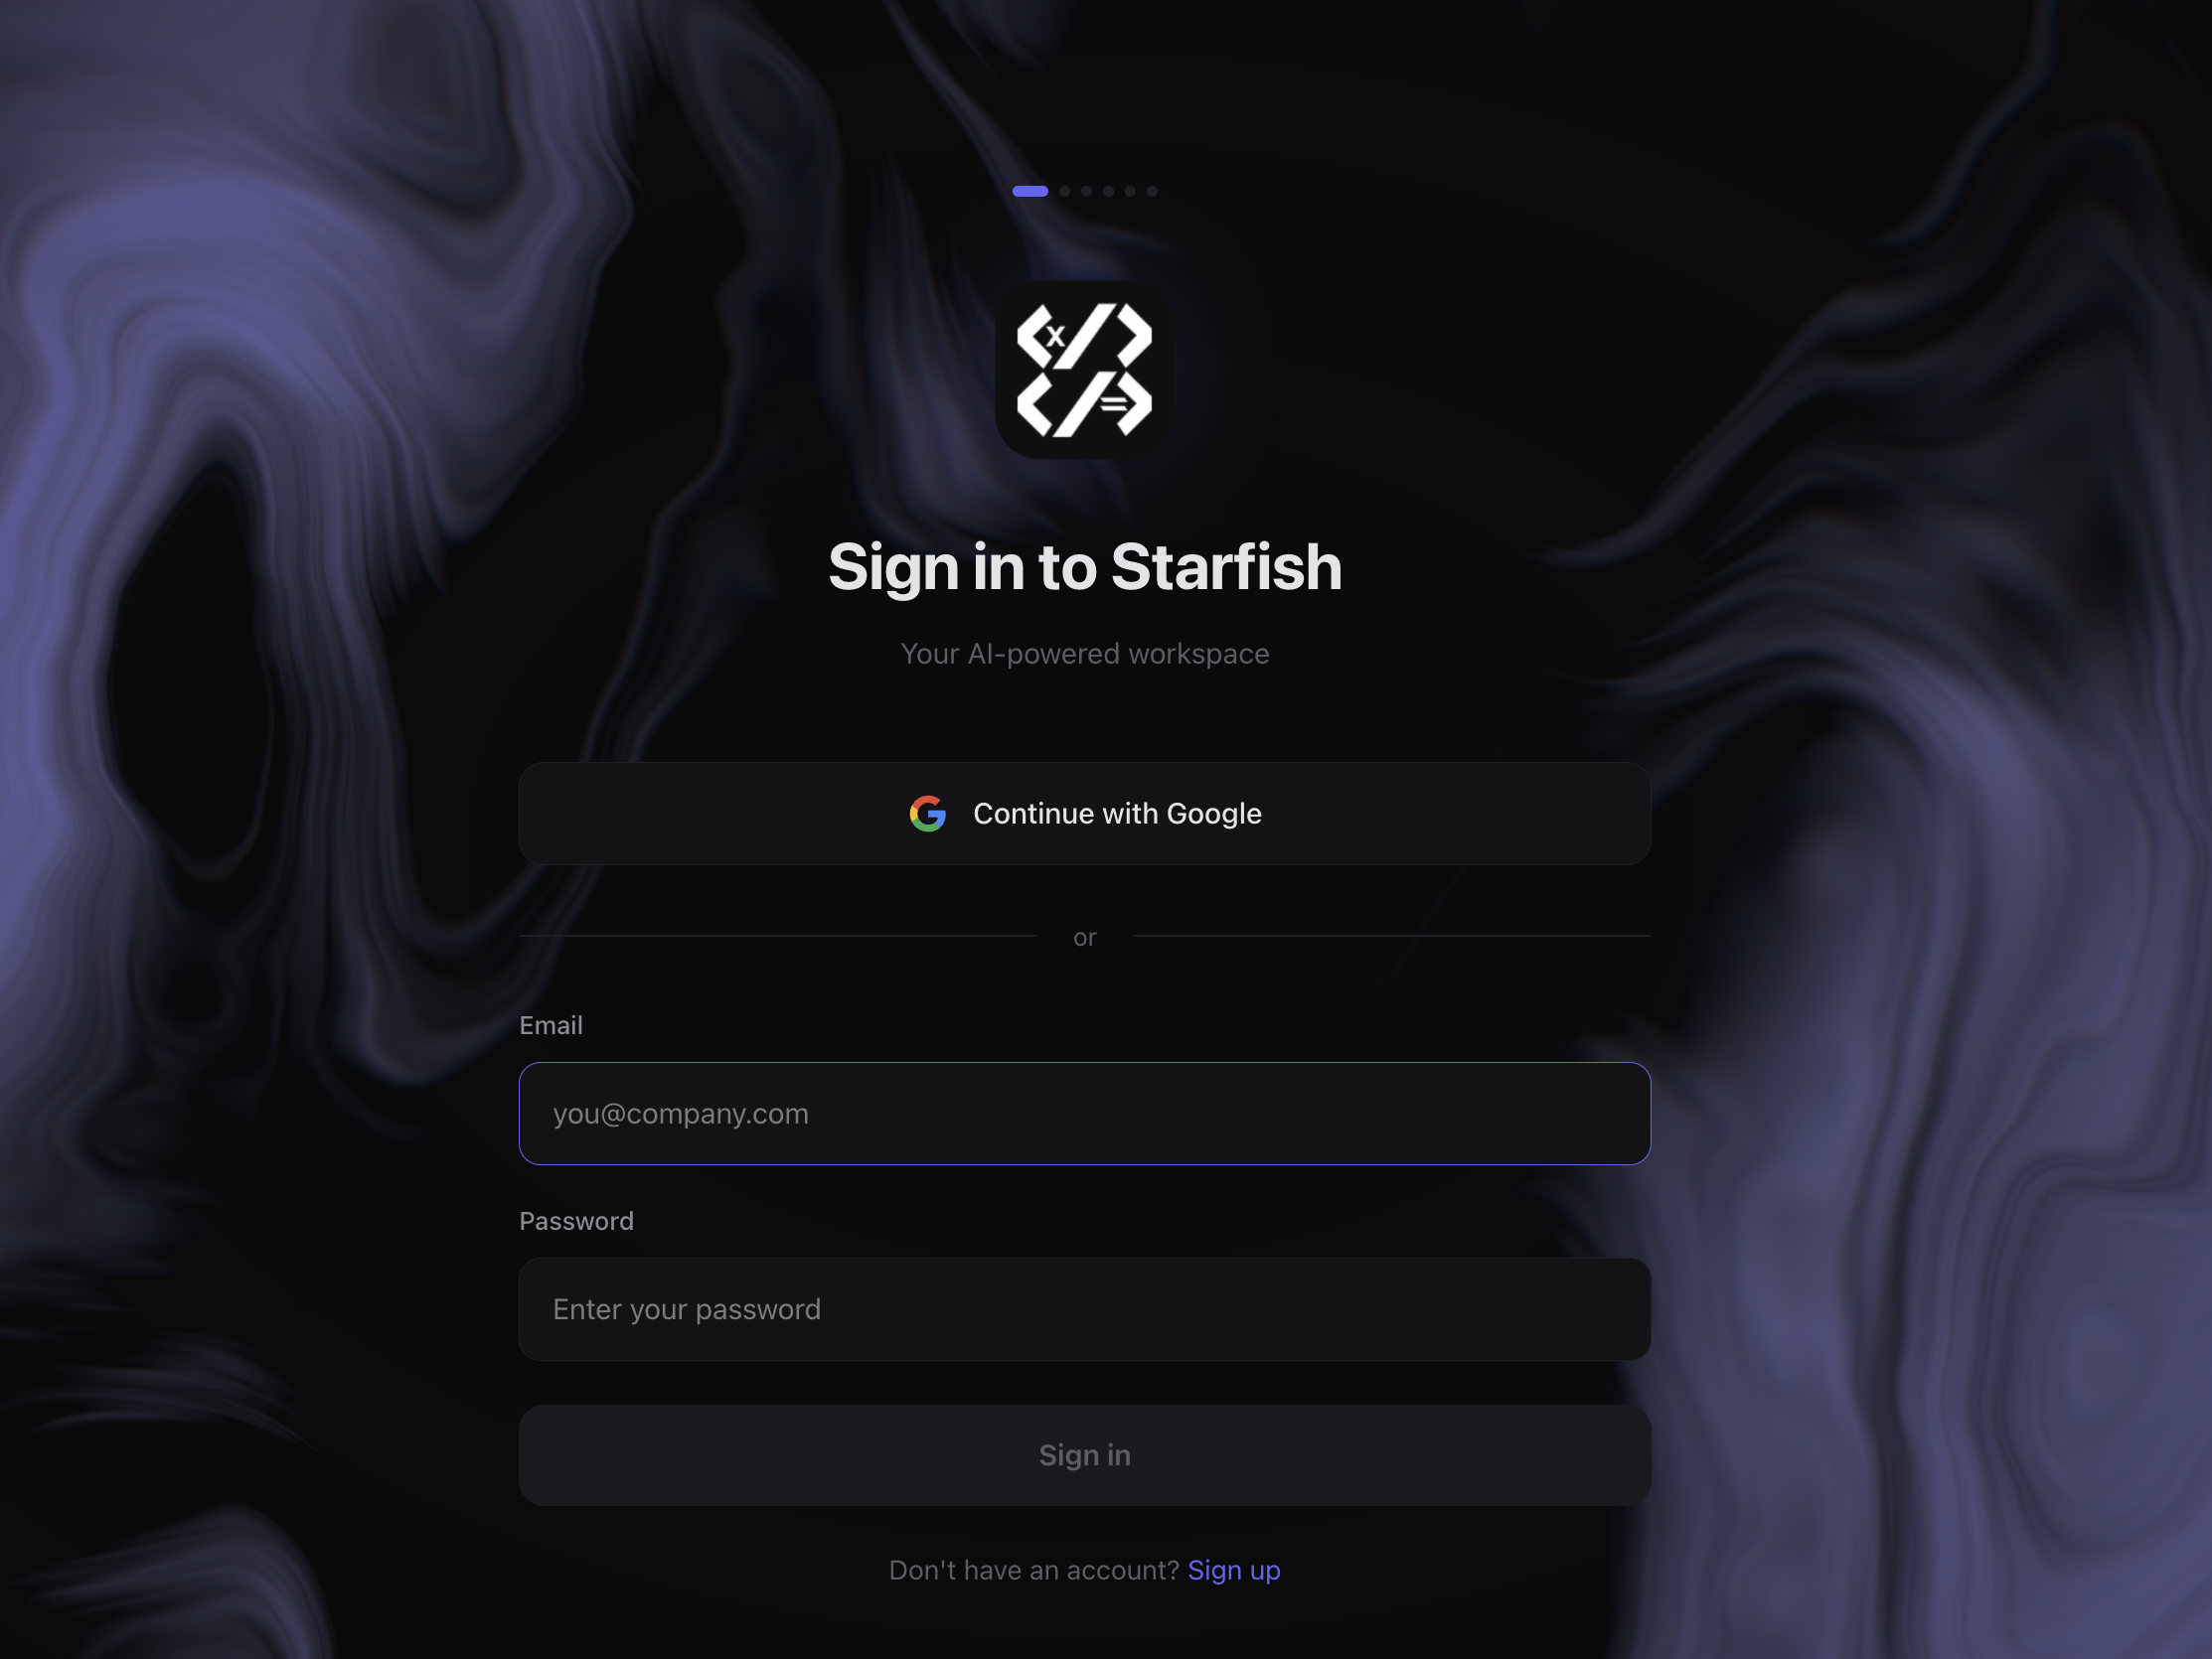
Step 1 — Account
Create your Starfish account or sign in to an existing one.
Google sign-in: Click Continue with Google. A browser popup opens for OAuth authentication. After you authorize, the wizard advances automatically.
Email: Enter your email and a password. If you're creating a new account, check your inbox for a confirmation email before signing in. Use the "New to Starfish? Create an account" / "Already have an account? Sign in" link to switch between signing up and signing in.
If you already have an active session, this step is skipped.
Step 2 — AI access
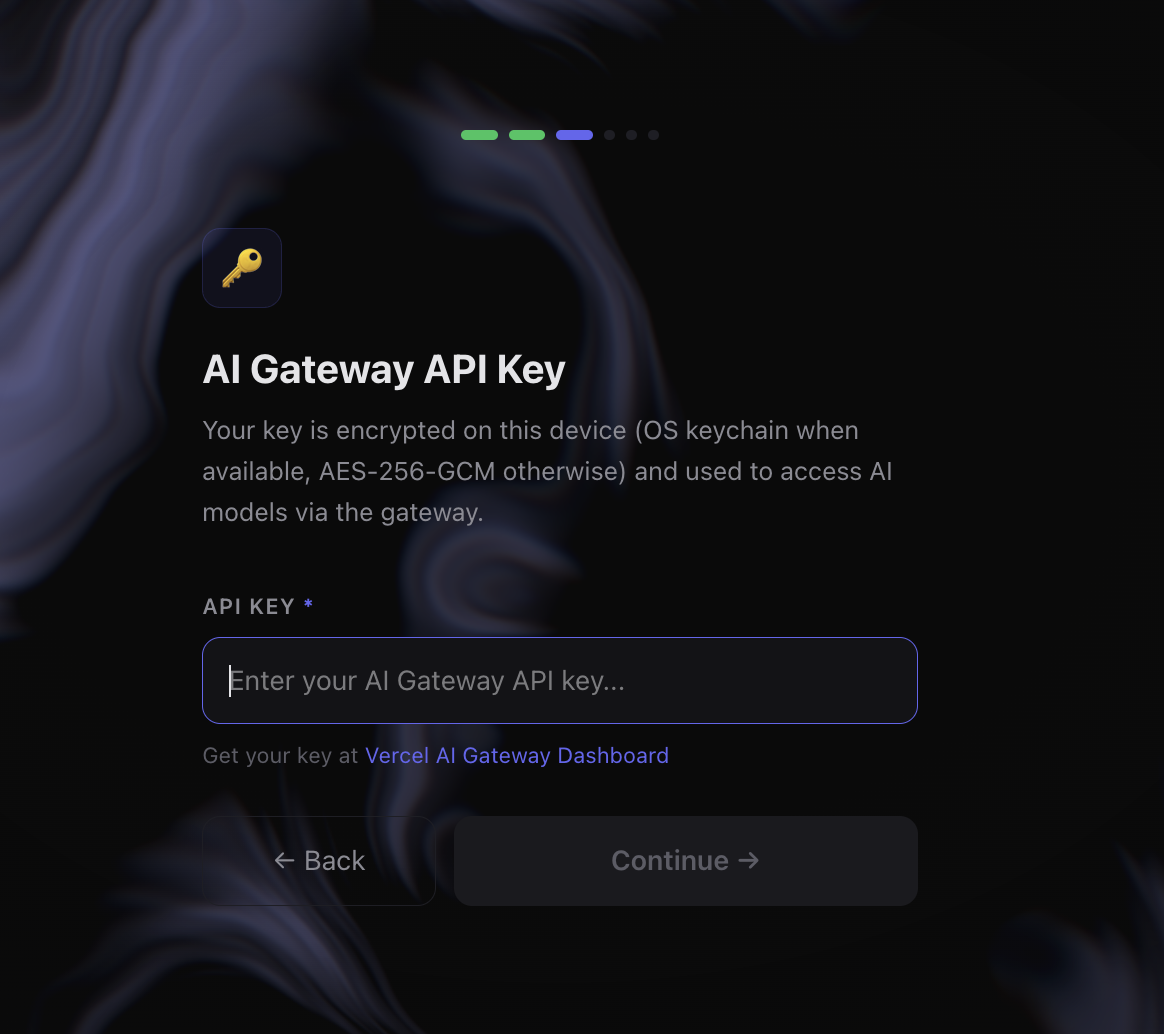
Starfish connects to language models (Claude, GPT, Gemini, and others) through Vercel AI Gateway. The gateway provides unified routing across all supported models — you only need one key.
To get your key:
- Create an account at vercel.com.
- Navigate to your AI Gateway settings.
- Generate an API key.
- Copy the key and paste it into the input field.
Your key is stored securely on your Mac — protected by the Keychain when available, with encrypted local storage as the fallback — and is never shown again.
Step 3 — Make it yours
This optional step takes about a minute. Enter your company or organization and your role, and choose how replies should feel:
- Brief — just the answer
- Balanced — clear and useful
- Detailed — more context
Starfish saves these as preferences it remembers from your first conversation. You can edit or turn them off later in Settings → Personalization. Click Skip to continue without answering.
Step 4 — Apps
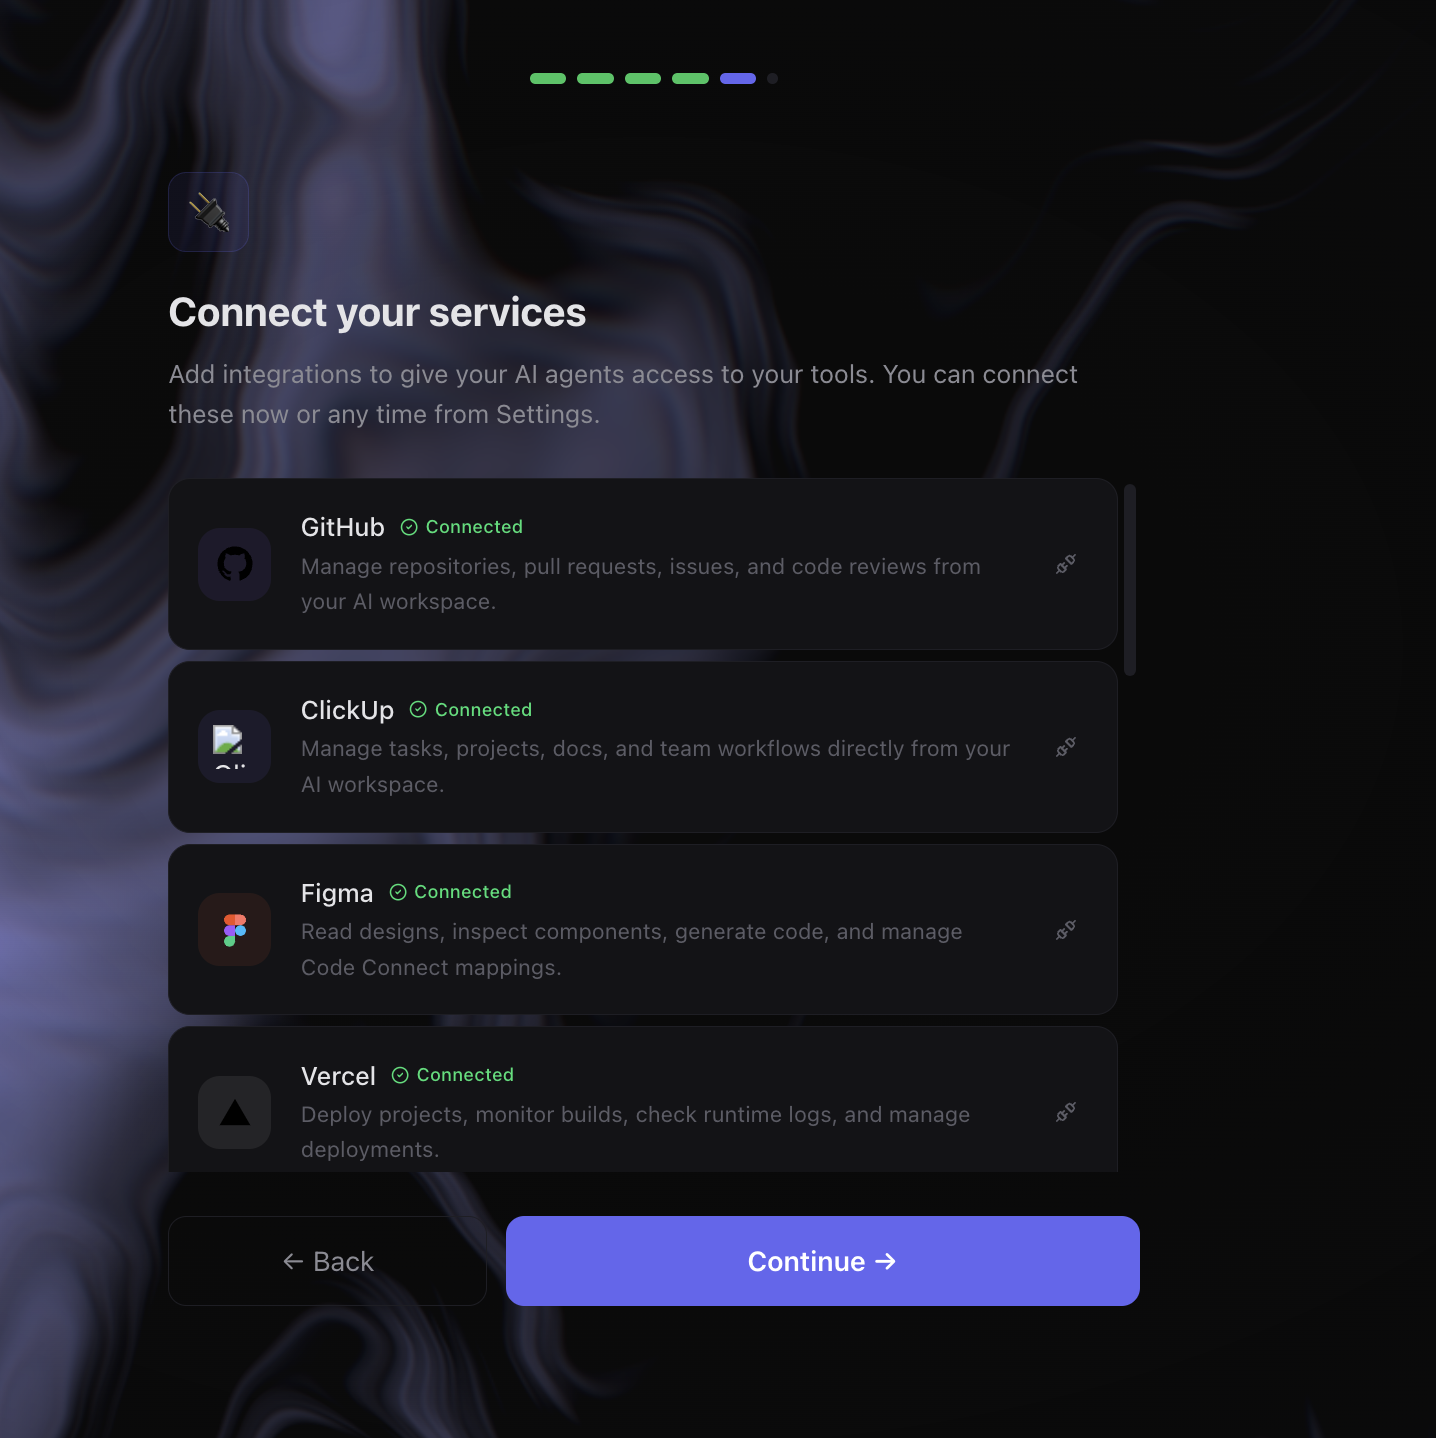
Connect the external services your assistant will use. Each integration uses MCP (Model Context Protocol) to communicate with its respective API.
Available integrations include:
- Google Workspace — Gmail, Calendar, Drive, Docs, Sheets, Slides, Tasks
- Google Marketing Suite — GA4, Search Console, Tag Manager
- Google Ads — campaigns, ad groups, keywords, reporting
- ClickUp — Tasks, projects, docs, team workflows
- QuickBooks Online — invoices, customers, items, accounts
- GitHub — Repositories, pull requests, issues, code reviews
- Figma — Design inspection, component reading, code generation
- Vercel — Deployments, builds, runtime logs
- Canva — Designs, presentations, marketing materials
- Zapier — Workflow automation across thousands of apps
- Apify — Web scraping and data extraction
- GoHighLevel — CRM, pipelines, campaigns
- Facebook Ads — Campaigns, audiences, performance analytics
- TikTok Ads — Campaigns, audiences, performance analytics
- Playwright — Browse, screenshot, and automate web pages
- Stitch — Generate UI screens, design systems, and prototypes
You don't need to connect everything now. Apps can be added or removed at any time from the Marketplace.
Step 5 — Ready
Setup is complete. Click Start working to enter the main workspace. Starfish starts in Simple mode; switch to Developer mode from the model menu whenever you want the fuller layout.
What to do next:
- Start a conversation — try asking about your calendar or unread emails.
- Explore the Quick Start guide for example prompts.
- Open Settings to fine-tune your apps and agent configuration.